This article is Part I of a two-part series about how to record, encode, store, organize, and share via online and DVD a video of each day of your child’s life. This first part covers the basics of doing the recording. The second part, which is the part most find daunting, is the process of organizing and sharing the videos.
Parents never have time. Taking care of a newborn child is one of the most exhausting experiences. It’s also rewarding. And it goes by quickly.
All parents take videos and photos of their child, but we’re usually bad about labeling the media, organizing it, and recording our child’s life in a consistent basis. Sometimes months will go by without a single photo or video. And when the child gets older sometimes years will pass. I don’t have a single video of me until I was in my 20s!
A year ago I became a father and I took on the task of recording “a video a day” of my son. He’s now a year old and I’ve shot (with the help of my wife) a video of him every day and then produced, organized, saved, backed up, posted online, and printed all on DVD. It appears to be a monumental task, but with the right planning, it doesn’t have to be.
We all know what a video diary archive of our child’s life would be worth to us personally, but we’ve avoided it because of the perceived costs of time and money. It’s not. It’s very cheap financially, and the cost on your time is minimal. The benefits far outweigh the costs.
The goal is to plan correctly and make the process simple, consistent, and easy to manage.
Part I: The Basics of Recording and Storing “a video a day” of your child
The hardware
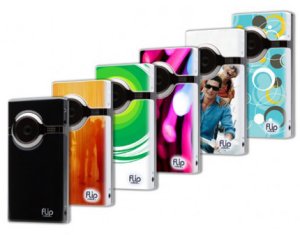 Use a Flip HD video camera – I own six video cameras, but for this project I use The Flip HD, because of its simplicity, quality, take anywhere size, and easy to use software. I also own a Kodak Zi8, and while that camera is excellent, the software stinks. I don’t believe this project can actually be done with a “real” video camera, solely for the fact that you’re not going to take a full blown video camera everywhere with you. You have to use a pocket camera, or your mobile phone. While mobile phones are handy since you’ll always have them with you, getting the video off and managing it isn’t so good. So for that reason, I highly recommend the Flip HD. Unfortunately, Cisco has announced they’re discontinuing The Flip, so if you don’t have one now, get one. They’ll be providing support through the end of 2013.
Shoot in HD – The SD standard is long over. Don’t even start with it. Just begin with HD.
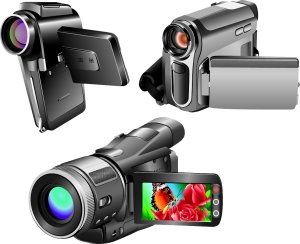 Use one camera – Don’t shoot some of the videos with your nice video camera, some with your phone camera, and some with your Flip. You’ll want to edit these videos later and if they’re all shot with the same camera, with consistent settings, then you’ll have a much happier time editing.
How to shoot
There are tons of techniques for shooting kids, and I highly recommend watching and subscribing to IzzyVideo, a video podcast series on how to shoot better video. You’ll learn some great techniques. Here are some basics for this specific project.
 Limit the time you shoot – Make it a point to only record a certain amount every day. I commit to somewhere between 45 to 80 seconds (1:20). Stick to that time frame.
Hold the camera steady – It’s amazing how people can’t figure this one out. You hand them the camera and then they start waving it about. Force them to watch their shaky video on a big screen and they’ll never do it again.
Get up close – It’s a baby, you almost never want a wide shot.
Get it all in one take with no editing – Pressing the record button on and record button off should be your edit in and edit out points. To keep this process simple, you must be able to shoot this way. You don’t want to be editing a video every day. Remember the goal is simple, consistent, and easy to manage.
The software
An easy import, encode, upload solution – While many programs can import, encode, and upload, only The Flip’s FlipShare software offers a true streamlined experience for pulling off all of these functions simply and quickly.
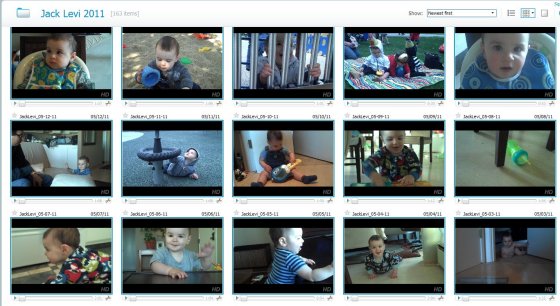
These are the basics. Next step is to get to the real meat of this project: organizing, publishing, and sharing all of these videos. We get to all of that in part II, available on Technologizer.
Stock photos courtesy of Shutterstock.

